
This article will show you how to setup a Nokia WiFi Beacon 1.1 router.
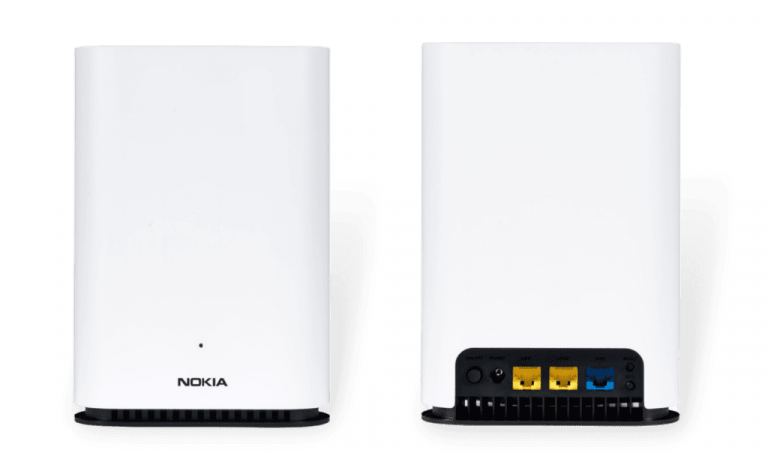
Part 1 – Setting Up Your Router
Connect your cables
- Plug in the power cable.
- Connect the Ethernet cable from your modem/NBN connection to the router.
Download the Nokia WiFi App
- Available on the App Store (iOS) or Google Play (Android).
Connect your phone/tablet to the WiFi
- Use the default WiFi name (SSID) and password printed on the bottom of your router.
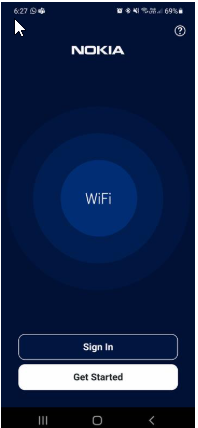
Open the Nokia WiFi App
- Tap Get Started.
Scan the QR Code
- The QR code is located underneath your router.
This will log you into the gateway via the app.
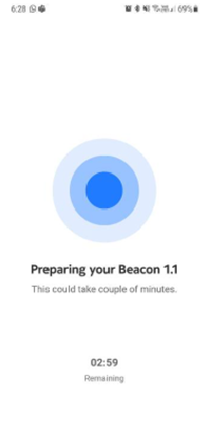
Add an extender (if you have one)
- If you have another Beacon 1.1 to use as an extender, follow the prompts in the app to add it.
- If not, tap Skip.
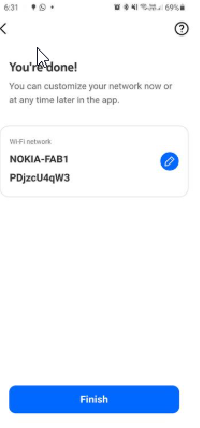
Customise WiFi details (optional)
- You can change your WiFi name and password here.
- Otherwise, tap Finish.
Gateway Settings Page
- You will now be taken to the main settings page of your router in the app.
Part 2 – Configuring the Internet
Gateway Settings Page
- From the Gateway Settings page, tap Settings (bottom right).
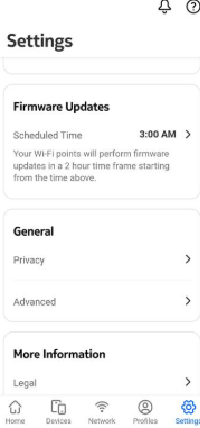
-
Under the GENERAL heading, tap Advanced.
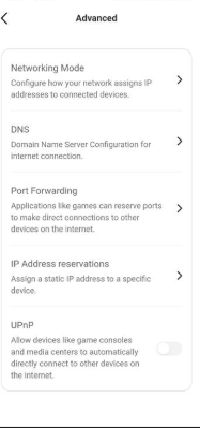
-
Tap Networking Mode.
-
Set the mode to your required authentication method (e.g., DHCP) and configure as needed.
Factory Reset
A factory reset will erase all your settings and return your Nokia WiFi device to its original “out-of-box” state.
Steps to Factory Reset:
- Unplug any Ethernet backhaul cables from the root Beacon.
- Keep the Beacon powered on.
- Locate the Reset button (small recessed button on the back, or bottom for Beacon ).
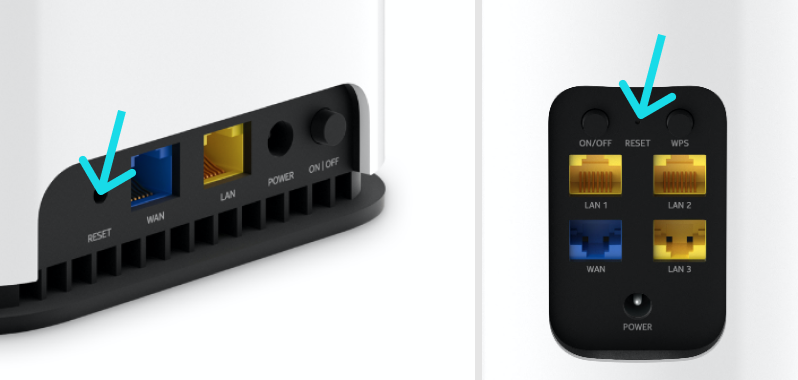
- Use a paperclip or SIM tool to press and hold the button for 10 seconds until the LED flashes red twice.
- Wait for the LED to:
- Turn solid white (booting up – takes a few minutes).
- Then flash yellow (reset complete and ready for setup).
- Repeat the process for each extender Beacon.
